
Are you looking Low Sodium Bread Recipe ? Making your own low sodium bread at home is an excellent way to enjoy fresh bread without the high levels of sodium that often come with store-bought options. Whether you’re following a specific low sodium diet due to health reasons, or you simply want to cut down on your sodium intake, this recipe provides a simple and flavorful alternative that doesn’t compromise on taste.
This article will guide you through the process of making your very own low salt bread, from the ingredients to the baking techniques, and will also provide helpful variations and ideas for serving. Whether you’re new to baking or an experienced chef, this low sodium bread recipe will be a great addition to your healthy eating plan.
Why Choose Low Sodium Bread?
Traditional store-bought bread can contain a significant amount of sodium—often much more than you’d expect. While sodium is essential for body function in small amounts, excessive consumption can contribute to health issues like high blood pressure, heart disease, and kidney problems. This makes switching to a low sodium bread recipe a smart decision for anyone aiming to lower their sodium intake without giving up the comfort of fresh bread.
This recipe uses simple ingredients to make bread that’s lower in sodium than most traditional recipes, helping you stay on track with a healthier diet. By making bread at home, you also have full control over the ingredients, ensuring a fresher, cleaner product without any unnecessary additives.
Ingredients for Low Sodium Bread
Before diving into the preparation steps, let’s take a look at the ingredients you’ll need for this low sodium bread recipe. Most of these ingredients are pantry staples, and you may already have them on hand. Here’s what you’ll need:
- 4 cups of all-purpose flour
All-purpose flour is the base of most bread recipes. You can use whole wheat flour for a nuttier flavor and added fiber or even gluten-free flour if you prefer a gluten-free bread option. - 1 teaspoon instant yeast
Yeast is essential for making the dough rise and giving it that airy texture. Instant yeast is the most convenient option because it doesn’t need to be activated beforehand. - ½ teaspoon pink Himalayan sea salt
Unlike regular table salt, pink Himalayan sea salt contains less sodium, and it also offers a more subtle flavor. You can adjust this amount based on your personal sodium preference. - 2 cups of water
Warm water helps activate the yeast, enabling the dough to rise properly.
Optional Ingredients:
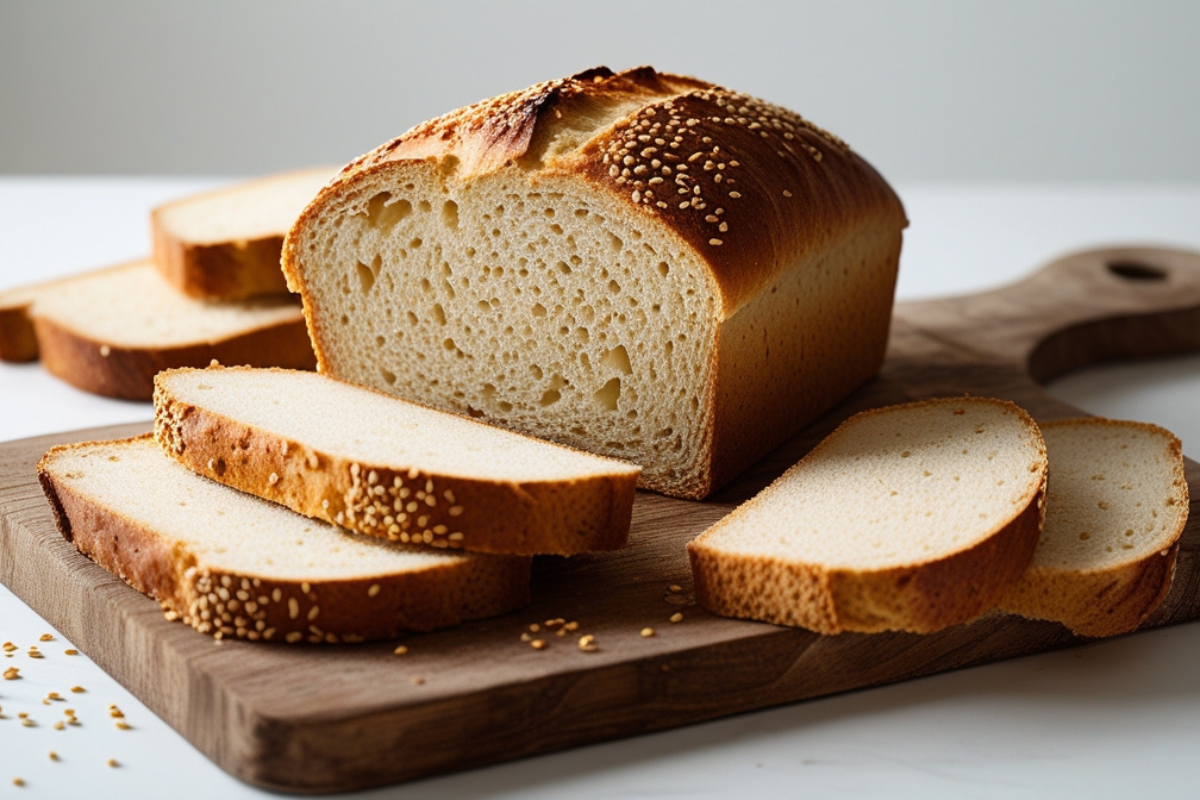
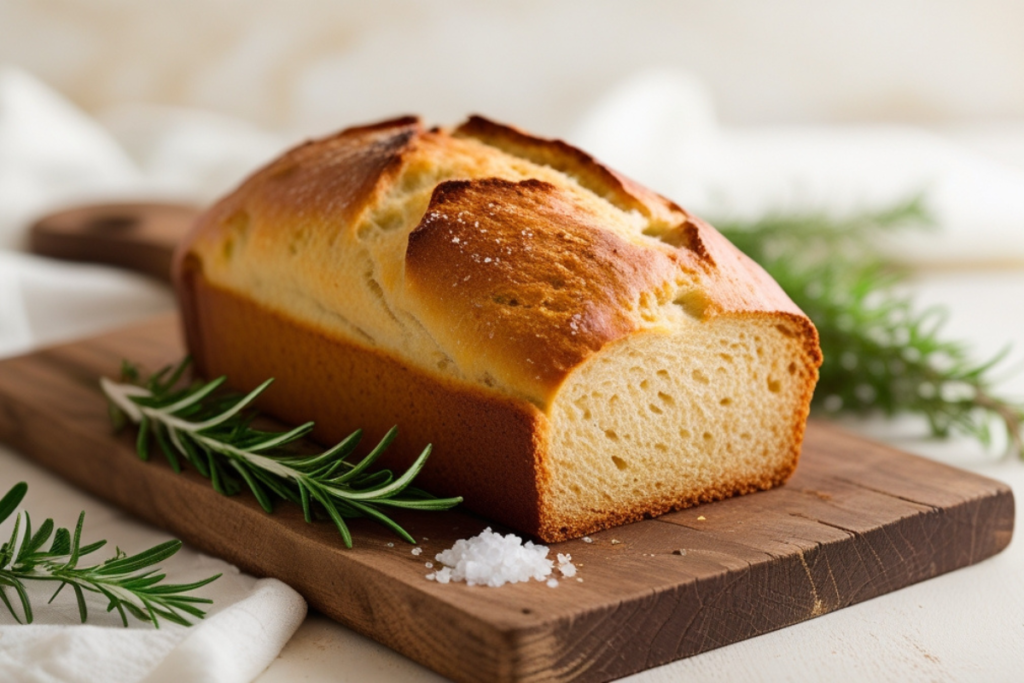
- You can add flavoring ingredients like herbs (rosemary, thyme) or seeds (sunflower, sesame) to enhance the taste of your bread. These can add unique textures and flavors while keeping your bread low sodium.
Step-by-Step Instructions for Making Low Sodium Bread
1. Mix the Dry Ingredients
Start by mixing the dry ingredients together in a large bowl. Add the flour, yeast, and pink Himalayan sea salt to the bowl and stir well. This helps distribute the yeast and salt evenly throughout the flour.
2. Add the Water
Next, add the warm water to the dry ingredients. Stir the mixture until it forms a sticky dough. At this point, the dough will be quite wet, but that’s perfectly normal. It’s important to resist the urge to add more flour at this stage, as the dough needs to be wet to achieve the right texture.
3. Let the Dough Rise (12-18 Hours)
Cover the bowl with a tea towel and let the dough rise in a warm area for about 12-18 hours. This long rise is what gives the bread its deep flavor. The dough will double in size during this period, so give it enough space in the bowl to expand.
If your kitchen is cold, place the dough in an unheated oven with the oven light on to create a warmer environment.
4. Shape and Fold the Dough
After the dough has risen, remove it from the bowl and place it on a floured surface. Using your hands, fold the dough over itself several times to shape it into a round loaf. The folding technique helps create a better crumb structure for the bread.
5. Let the Dough Rise Again (1-2 Hours)
Transfer the folded dough into a banneton proofing bowl or back into the original mixing bowl. Cover with a tea towel and allow the dough to rise for another 1-2 hours. The dough will continue to rise and become even fluffier.
6. Bake the Bread
Preheat your oven to 450°F (232°C). Place a large Dutch oven (or any oven-safe pot with a lid) into the oven while it heats up. Once the oven reaches temperature, carefully remove the hot Dutch oven and place the dough inside.
Cover the pot with the lid and bake the bread for 30 minutes. After 30 minutes, remove the lid and bake for an additional 10-15 minutes to brown the crust. The bread should be golden brown on top.
7. Cool and Slice
Once your bread is done, remove it from the Dutch oven and place it on a cooling rack. Let it cool for at least 30 minutes before slicing. This resting period allows the bread to set and ensures the perfect texture.
Explore more: How do you make bread rise without gluten
Serving Ideas and Variations
Once you’ve baked your low sodium bread, it’s time to enjoy it! Here are a few ideas for serving:
- As Toast – Serve a slice with some unsalted butter or a light spread of your favorite low-sodium topping like avocado or jam.
- For Sandwiches – This bread is perfect for a healthy sandwich. Use low-sodium deli meats, vegetables, and spreads for a complete meal.
- With Soup – Pair it with a bowl of low sodium vegetable soup for a comforting and nutritious lunch.
- As Garlic Bread – Transform it into garlic bread by brushing it with olive oil, minced garlic, and a sprinkle of herbs.
Frequently Asked Questions About Low Sodium Bread Recipe

1. Can I Make Low Sodium Bread Without Salt?
Yes, you can omit the salt entirely if desired. However, salt helps enhance the bread’s flavor, so without it, the bread might taste a bit bland. You can try adding flavor with toppings such as low sodium avocado spread or a herb spread for added taste.
2. How Long Will Low Sodium Bread Stay Fresh?
Homemade bread typically lasts for about 3-4 days at room temperature. For longer storage, slice the bread and freeze it for later use. You can toast frozen slices whenever needed.
3. Can I Freeze Low Sodium Bread?
Yes, this bread freezes wonderfully. After it has completely cooled, wrap it tightly in plastic wrap or a freezer-safe bag and store it in the freezer. To enjoy, simply thaw a slice and toast it.
4. Can I Use a Bread Machine for This Recipe?
This recipe is designed to be made by hand for simplicity, but you can use a bread machine for the mixing and rising process. Just follow the machine’s instructions, and be sure to adjust the recipe for the machine’s settings.
Conclusion
Making your own low sodium bread at home is a great way to enjoy fresh bread while managing your sodium intake. With just a few simple ingredients and some patience, you can create a flavorful, healthy loaf that’s perfect for a variety of meals. Whether you enjoy it as toast, in sandwiches, or as part of a comforting soup, this low sodium bread recipe will quickly become a favorite in your household.
Don’t forget to experiment with different variations and flavors—add herbs, try a gluten-free option, or even turn it into low sodium garlic bread for a fun twist. Enjoy baking, and most importantly, enjoy the healthier choice of homemade bread!