
How to Decorate a Cake? Decorating a cake is not just about frosting it and throwing some sprinkles on top. It’s about turning a simple dessert into an edible masterpiece that can be the centerpiece of any occasion. Whether you’re preparing a birthday cake, a wedding cake, or a treat for a loved one, learning how to decorate a cake is a useful skill that can elevate your baking game. By the end of this guide, you’ll have the skills and knowledge to create beautiful cakes that look as good as they taste.
Essential Tools and Ingredients for Cake Decorating
Before diving into the fun part of cake decorating, you need to gather the right tools and ingredients. These are the building blocks of a successful cake decoration process. While the tools and ingredients may seem simple, they play a crucial role in ensuring your cake turns out beautifully.
Tools You’ll Need:
To create a cake that’s worthy of being the star of the show, you’ll need the right tools. Here’s a list of essential items to get started:
- Cake Turntable: A rotating base that allows you to move your cake easily while decorating. It ensures that frosting and decorations are applied evenly and helps you achieve a professional look.
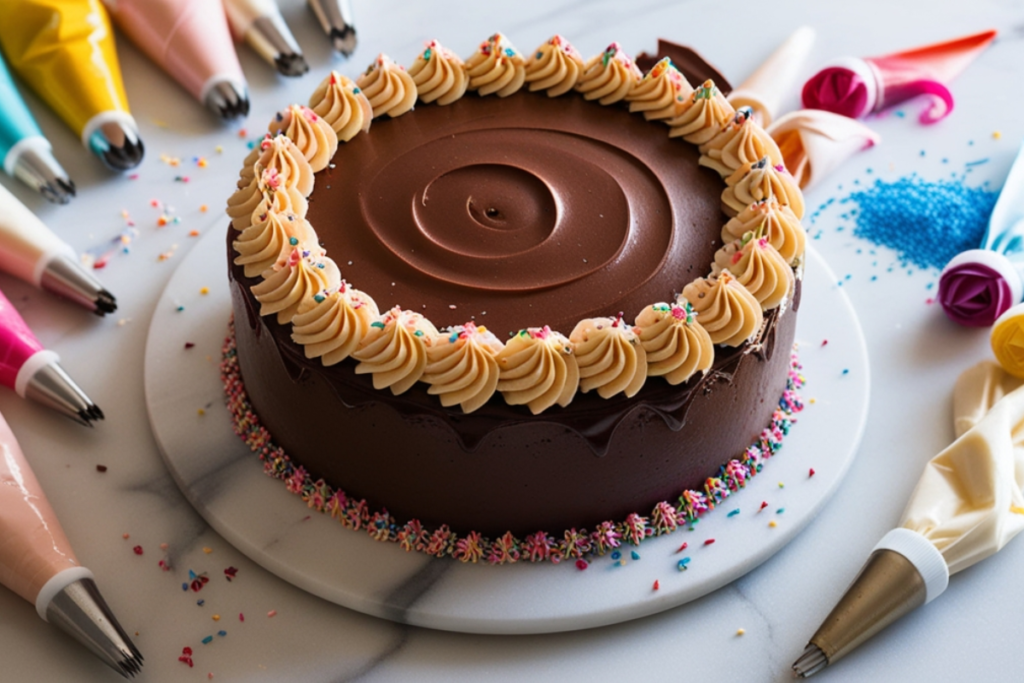
- Piping Bags and Tips: These are essential for creating a variety of designs like rosettes, flowers, and borders. You’ll use different piping tips to achieve different effects. For instance, a star tip will create rosettes, while a round tip will be ideal for writing messages or creating borders.
- Offset Spatula: An offset spatula is crucial for spreading frosting evenly and smoothing it out for a clean finish. It helps you apply frosting without disturbing the cake’s layers underneath.
- Fondant: Fondant is a smooth, pliable icing used to cover cakes, giving them a flawless finish. It can also be molded into intricate shapes and figures, making it perfect for themed cakes.
- Cake Scrapers: These are essential tools for achieving sharp, clean edges on cakes. A cake scraper helps remove excess frosting and smooth out the surface, ensuring your cake has a neat, professional appearance.
For more detailed tips on using these tools, check out this step-by-step cake decorating tutorial.
Ingredients You’ll Need:
While tools are important, the right ingredients will ensure your cake is as tasty as it is beautiful. Here are the key ingredients you’ll need for cake decorating:
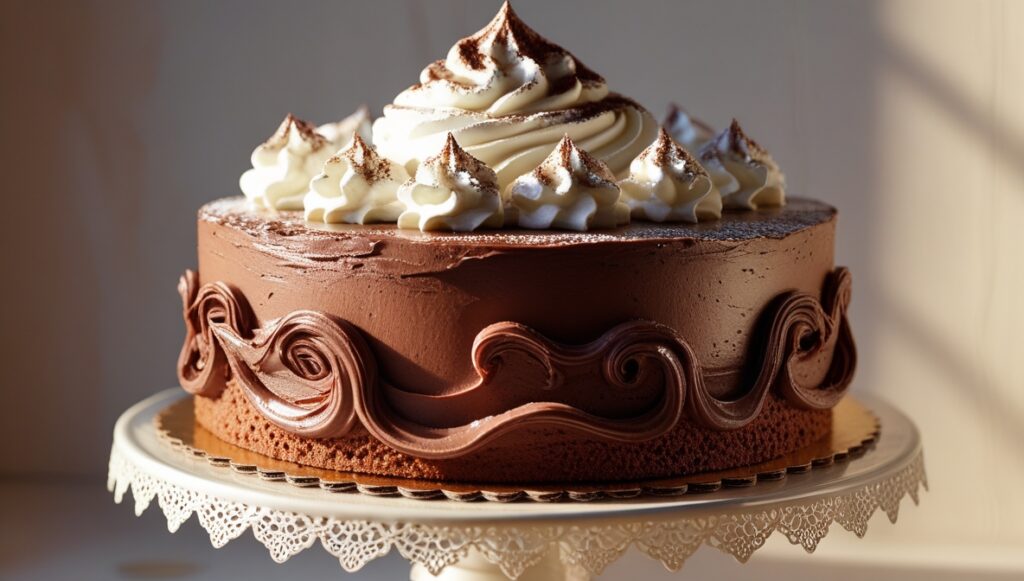
- Buttercream: This is the most common frosting for cake decorating. It’s easy to make and can be flavored in various ways. To achieve the best results, it’s essential to get the right consistency—smooth but thick enough to hold its shape when piped.
- Fondant: You can buy fondant pre-made or make it at home. It provides a sleek, smooth surface on your cake and is great for covering the entire cake or for sculpting figures and decorations.
- Food Coloring: You’ll need food coloring to add color to your frosting and fondant. Liquid food color works well, but gel food color is often preferred because it doesn’t thin out the icing as much.
- Sprinkles and Edible Decorations: Sprinkles, edible glitter, and small candy decorations can be used to give your cake texture and sparkle. They add a fun touch and can be used to highlight particular details or borders on your cake.
If you’re new to making buttercream, be sure to check out this guide to perfect buttercream.
Preparing Your Cake for Decoration
Preparing the cake is just as important as the decoration itself. Even the most beautiful decorations won’t stick or look clean if your cake isn’t properly prepped. Here’s a closer look at each step in preparing your cake for decoration:
Cool the Cake Completely:
Allow your cake to cool completely before starting the decorating process. This may seem obvious, but it’s essential to let your cake cool for at least an hour. A warm cake will cause the frosting to melt and slide off, making it difficult to apply. Placing your cake on a wire rack helps it cool evenly and prevents the bottom from becoming soggy.
Trim and Level the Cake:
If your cake layers are uneven, it’s crucial to level them. Use a serrated knife or a cake leveler to carefully trim the tops of your cake layers. This step ensures that your cake has a professional, uniform appearance. When stacking the cake layers, make sure they’re even and level to prevent the cake from tipping over or looking uneven.
Apply a Crumb Coat:
A crumb coat is a thin layer of frosting that acts as a protective barrier. It seals in the crumbs, preventing them from mixing into your final coat of frosting. The crumb coat should be as smooth as possible, and it doesn’t need to be perfect—just enough to give the final layer something to stick to. After applying the crumb coat, refrigerate the cake for about 30 minutes to let it set.
For more detailed advice on crumb coating, check out this guide on pro cake decorating tips.
Frosting Your Cake: The Basics
Now that your cake is prepped and ready, it’s time to focus on frosting. Frosting is the foundation of any decorated cake, providing both the structure and flavor for the cake.
Buttercream Frosting:
Buttercream is the go-to frosting for most cake decorators, thanks to its versatility and smooth texture. To make buttercream, you’ll need butter, powdered sugar, a small amount of milk or cream, and a touch of vanilla extract. The key to perfect buttercream is getting the right consistency—not too stiff and not too runny. You can adjust the thickness by adding more powdered sugar if it’s too runny or a bit more milk if it’s too thick.
Spread the frosting evenly over your cake using an offset spatula. Start with the top of the cake and work your way down to the sides, covering it completely. For an ultra-smooth finish, use a cake scraper to remove excess frosting and smooth the surface.
Fondant Application:
If you want a smooth, polished look, fondant is your best friend. After your cake has been crumb-coated and chilled, roll out the fondant on a clean, lightly powdered surface. The thickness should be about 1/8-inch. Carefully drape the fondant over the cake, starting from the top and letting it fall down the sides. Smooth the fondant gently with your hands or a fondant smoother to eliminate any air bubbles or wrinkles. Trim the excess at the base for a clean edge.
Creating Smooth Edges:
Creating sharp, clean edges on your cake is a hallmark of professional cake decorating. Use a cake scraper or offset spatula to smooth the frosting around the edges. Hold the scraper at a 45-degree angle to ensure that the frosting stays even as you scrape away excess frosting.
For more tips on applying fondant, check out this how to make the perfect buttercream for cake decorating.
Creative Cake Decoration Ideas
Now that your cake is frosted and ready to go, it’s time to get creative. Decorating your cake is where you can really showcase your skills. Here are some ideas to help you get started:
Piping Techniques:
Piping is a technique where you use a piping bag fitted with different tips to create intricate designs. The possibilities are endless, from creating rosettes to intricate lacework. Here are a few examples of piping tips and what they can do:
- Star Tip: Ideal for creating rosettes and flowers.
- Round Tip: Perfect for piping borders, writing messages, or filling in designs.
- Leaf Tip: Great for creating leaves or adding texture to flowers.
Practice piping designs on a piece of parchment paper before applying them to your cake. Once you’re comfortable with your piping techniques, you can start decorating your cake with various designs and patterns.
Fondant Figures:
Fondant can be shaped into all sorts of figures, from flowers to animals to characters. For example, you can create a bouquet of fondant roses to decorate the top of your cake or sculpt fondant animals for a child’s birthday cake. Once the fondant is rolled out and cut, use edible food coloring to paint on details and add dimension to your figures.
Edible Flowers:
Edible flowers are an elegant and natural way to decorate a cake. Fresh flowers like roses, violets, or daisies are often used to add a touch of beauty and sophistication. You can also use dried flowers for a vintage look. Be sure to only use flowers that are safe to eat, and ensure they haven’t been treated with pesticides.
Advanced Cake Decorating Techniques
As you become more comfortable with the basics of cake decorating, you can begin experimenting with more advanced techniques. These methods can elevate your cake to a professional level.
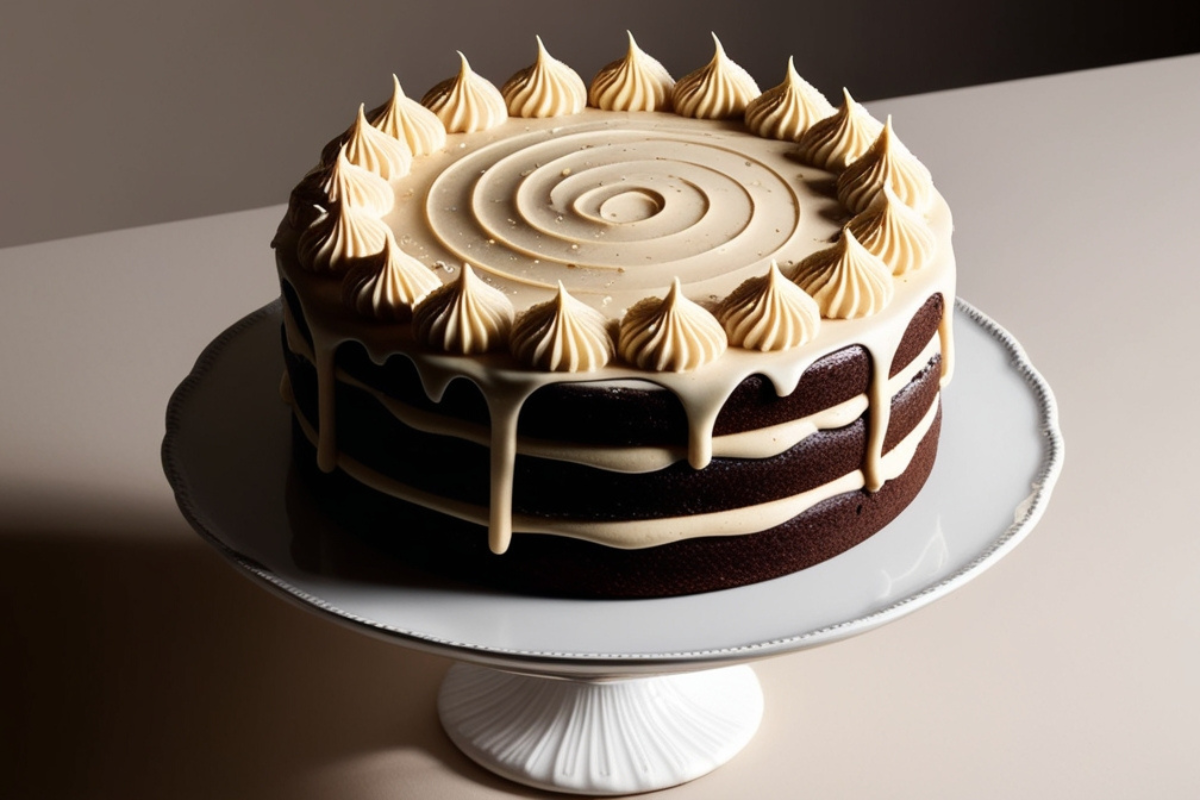
Drip Cakes:
Drip cakes are a popular trend in cake decorating, especially for birthdays and weddings. To create a drip effect, simply melt some ganache or use colored icing and let it drip down the sides of your cake. The result is a modern, chic look that’s both fun and visually appealing.
Sugar Flowers:
Sugar flowers are intricate, delicate flowers made from gum paste or fondant. They can be arranged to create beautiful floral designs on cakes, and are often used for weddings, anniversaries, or other formal events. Sugar flowers require a bit more time and patience to make, but the results are stunning.
Airbrush Techniques:
For a professional touch, consider using an airbrush machine. Airbrushing allows you to create smooth gradients of color, add intricate details, or even apply designs like stencils. The key to successful airbrushing is using the right food-safe airbrush paints and practicing before working on your cake.
Adding the Final Touches
The final touches are what make your cake truly unique. These small details can elevate the overall look and make your cake stand out:
- Edible Glitter and Sprinkles: Adding a touch of sparkle can make your cake look glamorous. Use edible glitter or sprinkles on the top of the cake, or as an accent on the sides.
- Chocolate Shavings: A few shavings of chocolate can add a rich, decadent texture to your cake. Use a vegetable peeler to shave a chocolate bar or melt the chocolate and pour it onto parchment paper to set before cutting into shavings.
- Personal Messages: Adding a message, like “Happy Birthday” or “Congratulations,” is a great way to personalize your cake. Use piping gel or royal icing to write your message on the cake’s top layer.
Troubleshooting Cake Decorating Problems
No matter how skilled you become, every decorator encounters problems at some point. Here are a few common decorating issues and solutions:
- Frosting Too Thick or Thin: If your frosting is too thick, add a little milk to thin it out. If it’s too thin, add more powdered sugar to thicken it up.
- Fondant Cracking: If your fondant cracks, it’s usually too dry. Knead it thoroughly to soften it or add a little shortening to make it more pliable.
- Uneven Decoration: Always use a cake turntable to rotate the cake while decorating. This gives you better control and ensures even decoration all around.
FAQs About Cake Decorating
How long should I let my cake cool before decorating?
Always let your cake cool completely (about 1 hour) before decorating. This prevents the frosting from melting and helps it set properly.
Can I decorate a cake without professional tools?
Yes! Household items such as spoons, knives, and plastic sandwich bags can be used as alternatives to professional tools.
What’s the best buttercream for cake decorating?
Swiss meringue buttercream is often preferred for its smooth texture, but American buttercream is easier to make and work with for beginners.
By following these tips and techniques, you’ll be well on your way to mastering the art of cake decorating. Whether you’re making a cake for a special occasion or simply for fun, these decorating skills will allow you to transform a simple cake into a beautiful work of art. Keep practicing, get creative, and most importantly—have fun with the process!